How to install Netgear WiFi extender is a question many homeowners and business owners ask when they’re looking to eliminate WiFi dead zones. At Cam Security Surveillance, we understand the frustration of slow or unreliable internet signals in certain areas of your property. A Netgear WiFi extender is a compact device designed to capture your existing wireless signal and amplify it, extending coverage to hard-to-reach spots like basements, garages, or outdoor areas. By using a WiFi extender, you can enjoy smoother streaming, faster browsing, and a more stable connection across all your devices. Whether you prefer the quick WPS method, the step-by-step browser setup, or the user-friendly Nighthawk app, installing your Netgear extender is a straightforward process that can transform your online experience.
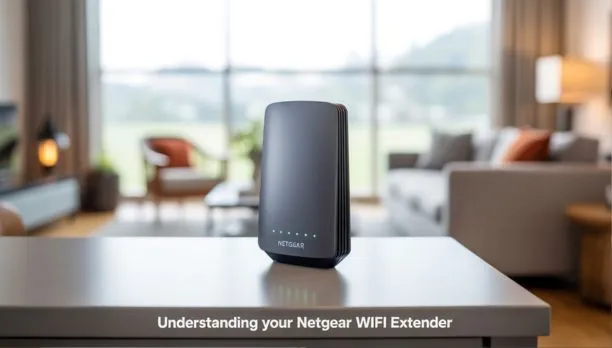
Understanding Your Netgear WiFi Extender
Before you start learning how to install Netgear WiFi extender, it’s essential to understand the different types and features these devices offer. At Cam Security Surveillance, we guide users in selecting the right model to enhance their internet coverage, whether it’s for home offices, smart devices, or AI cameras that need uninterrupted connectivity. Knowing these details will make it easier when deciding how to set up a WiFi extender for maximum performance.
Types and Features of Netgear WiFi Extenders:
- Desktop Models – Strong antennas, great for large areas.
- Wall-Plug Models – Space-saving, easy to move.
- Dual-Band Extenders – Balanced speed and range.
- Tri-Band Extenders – Extra bandwidth for heavy internet use.
- WPS Button – Quick, no-password setup.
- Web-Based Setup – Manual configuration via browser.
- Nighthawk App – Guided installation from your phone.
Choosing the right extender is just as important as knowing how to install WiFi correctly. Knowledge of an extender’s capabilities is the first step toward an easy installation experience when learning how to install Netgear WiFi extender and can ensure seamless browsing for everyday internet use or AI cameras, as well as smooth operation for security devices like AI cameras.
Pre-Installation Requirements for Your Netgear WiFi Extender
Before you start installing your Netgear WiFi extender, it is vitally important that you gather everything needed. A solid setup ensures a quick, smooth, and problem-free installation experience. Whether you’re looking to improve the connection for wire cameras, smart devices that connect to phones, or even outdoor equipment where you need to prevent fog issues in security feeds, a few minutes of preparation can save you hours of troubleshooting later.
Pre-installation checklist:
- Confirm router functionality – Make sure your main WiFi router is working properly.
- Check placement guidelines – Position your extender within your router’s range and away from heavy interference sources like microwaves or thick walls.
- Gather network details – Have your WiFi network name (SSID) and password ready.
- Ensure power access – Choose a location with a stable power outlet for the extender.
- Plan for connected devices – Decide which devices will benefit most, from smart home gadgets to wire-free security cameras.
Taking these steps before learning how to install WiFi extender will make the process easier and more effective. With proper preparation, you’ll have stronger coverage and a more stable connection for every device, from wire cameras to streaming devices that connect to phones.
Installing Your Netgear WiFi Extender Using the WPS Button
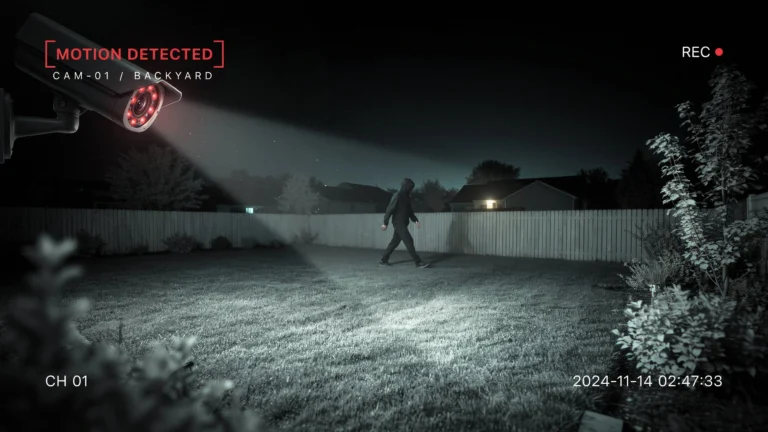
One of the quickest ways to learn how to install Netgear WiFi extender is by using the WPS (Wi-Fi Protected Setup) button. This method is simple, requires no complicated configuration, and works great for homes and businesses that need a stronger connection for devices like 4K IP cameras or even during security camera installation in Indianapolis projects. If you’ve ever wondered, Do security cameras need WiFi? Many modern models do, and a properly placed extender can make all the difference.
Step-by-step guide: How to connect WiFi extender to router using WPS:
- Plug in the extender – Choose a spot halfway between your router and the area that needs coverage.
- Press the WPS button on the extender – Hold it for about 2–3 seconds until the WPS LED starts blinking.
- Press the WPS button on your router – Do this within two minutes of pressing the extender’s WPS button.
- Wait for LED confirmation – A solid green or white light means the connection was successful.
- Test the signal strength – Move to the area you want to improve and check your WiFi performance.
Using the WPS method is an easy way to get your extender running quickly, making it a great choice for situations where you need fast setup for devices like 4K IP security cameras. Once connected, you’ll enjoy smoother streaming, improved video quality and enhanced reliability on your network without delving deep into complex settings.
Optimal Placement for Your Netgear WiFi Extender
Knowing how to install Netgear WiFi extenders is only half the job. Finding the right location is equally important for strong and consistent coverage. Many people overlook where to place their extender, but correct positioning can significantly improve performance. Although WiFi technology wasn’t just invented yesterday, placement strategy is still one of the most critical parts of a successful Netgear setup WiFi extender process. Understanding the right terminology like signal range and line of sight can also help you make better placement decisions.
Tips for optimal placement:
- Choose a midpoint – Place your extender halfway between your router and the dead zone.
- Avoid thick walls and floors – Solid barriers can weaken the signal.
- Stay away from appliances – Microwaves, cordless phones, and baby monitors can cause interference.
- Use signal indicators – Netgear extenders have built-in LEDs to help you find the strongest connection spot.
- Test different positions – Move the extender slightly and recheck signal strength until you find the sweet spot.
Your Netgear extender can deliver a strong, stable signal throughout your home or office when installed and placed properly, benefiting all connected devices from laptops to streaming systems with smoother performance and reduced dropouts.
Troubleshooting Installation Issues
Even after learning how to install Netgear WiFi extender, you might face occasional setup or connectivity challenges. These problems can affect everyday devices like your smoke alarm, wireless camera internet connections, and even motion detectors that rely on steady WiFi signals. Fortunately, most issues are easy to fix if you know what to look for.
Common setup problems and solutions:
- No WPS connection – Try moving the extender closer to the router and retry the WPS process.
- Login issues – Make sure you’re connected to the extender’s network before accessing
- Weak signal after setup – Reposition the extender or remove possible sources of interference.
- Firmware not updated – Visit Netgear’s website or use the Nighthawk app to install the latest updates.
- Devices not connecting – Restart both the router and the extender, then reconnect your devices.
How to reset the extender to factory settings:
- Locate the reset button on the extender.
- Press and hold it for about 10 seconds using a paperclip or pin.
- Wait for the LEDs to blink, indicating the reset is complete.
Keeping your extender’s firmware updated is key to avoiding connection drops. A simple update can restore performance, ensuring that connected devices whether it’s a smart smoke alarm, high-definition wireless camera internet feed, or security motion detectors stay online without interruptions.
Post-Installation Tips for Your Netgear WiFi Extender
Once you know how to install your Netgear WiFi extender, there are a few essential steps you should take in order to keep your network secure and performing optimally. These tips not only help you get the most out of your extender but also ensure your overall WiFi installation remains stable for the long term.
Key post-installation tips:
- Change the default SSID and password – Update your extender’s network name and password to prevent unauthorized access.
- Test your network speed – Use online speed test tools to confirm improved performance in weak-signal areas.
- Regular firmware updates – Keep your extender’s firmware current to improve stability and security.
Following these post-installation practices will ensure strong WiFi coverage and protect it against potential vulnerabilities. These small steps can make an enormous difference to long-term performance of WiFi installations for personal, work or smart device purposes.
Final Thought
Learning how to install Netgear WiFi extender is simple when you follow the right steps whether you choose the quick WPS method, the browser-based setup, or the Nighthawk app. Each method can help eliminate dead zones and boost signal strength, but the key to success is also optimizing placement for maximum coverage. At Cam Security Surveillance, we’ve seen how the right extender setup can transform a home or business network, ensuring everything from streaming devices to security systems runs smoothly.
With proper care such as regular firmware updates, smart placement, and occasional performance checks you can extend your network’s life and maintain reliable coverage for years. If you’re ready to improve your internet connection and enjoy a stronger, more secure network, contact Cam Security Surveillance today and let our experts help you get the best out of your WiFi system.
FAQs
How to install Netgear WiFi extender for the first time?
To install your Netgear WiFi extender, plug it into a power outlet, connect it to your router using the WPS button, web browser setup, or Nighthawk app, and then place it in an optimal location for best coverage.
Can I use the WPS method when learning how to install Netgear WiFi extenders?
Yes, the WPS method is the quickest way to connect your extender to the router. Simply press the WPS button on both devices within two minutes, then wait for the LED to confirm the connection.
Where should I place my extender after learning how to install Netgear WiFi extender?
For best results, place the extender halfway between your router and the area with weak signal. Avoid thick walls, appliances, and interference for maximum WiFi coverage.