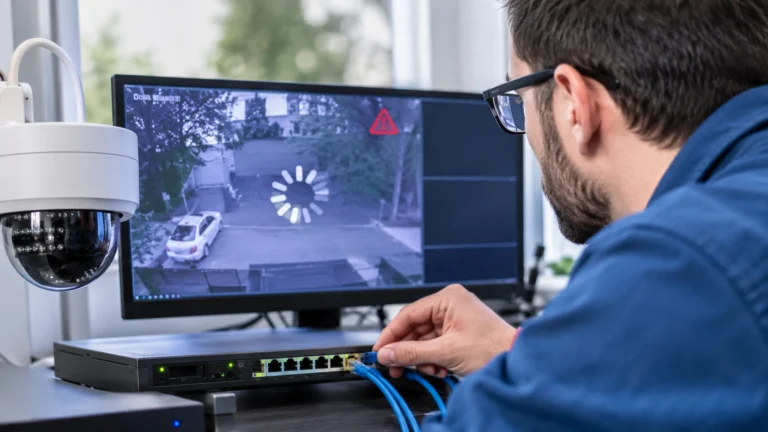
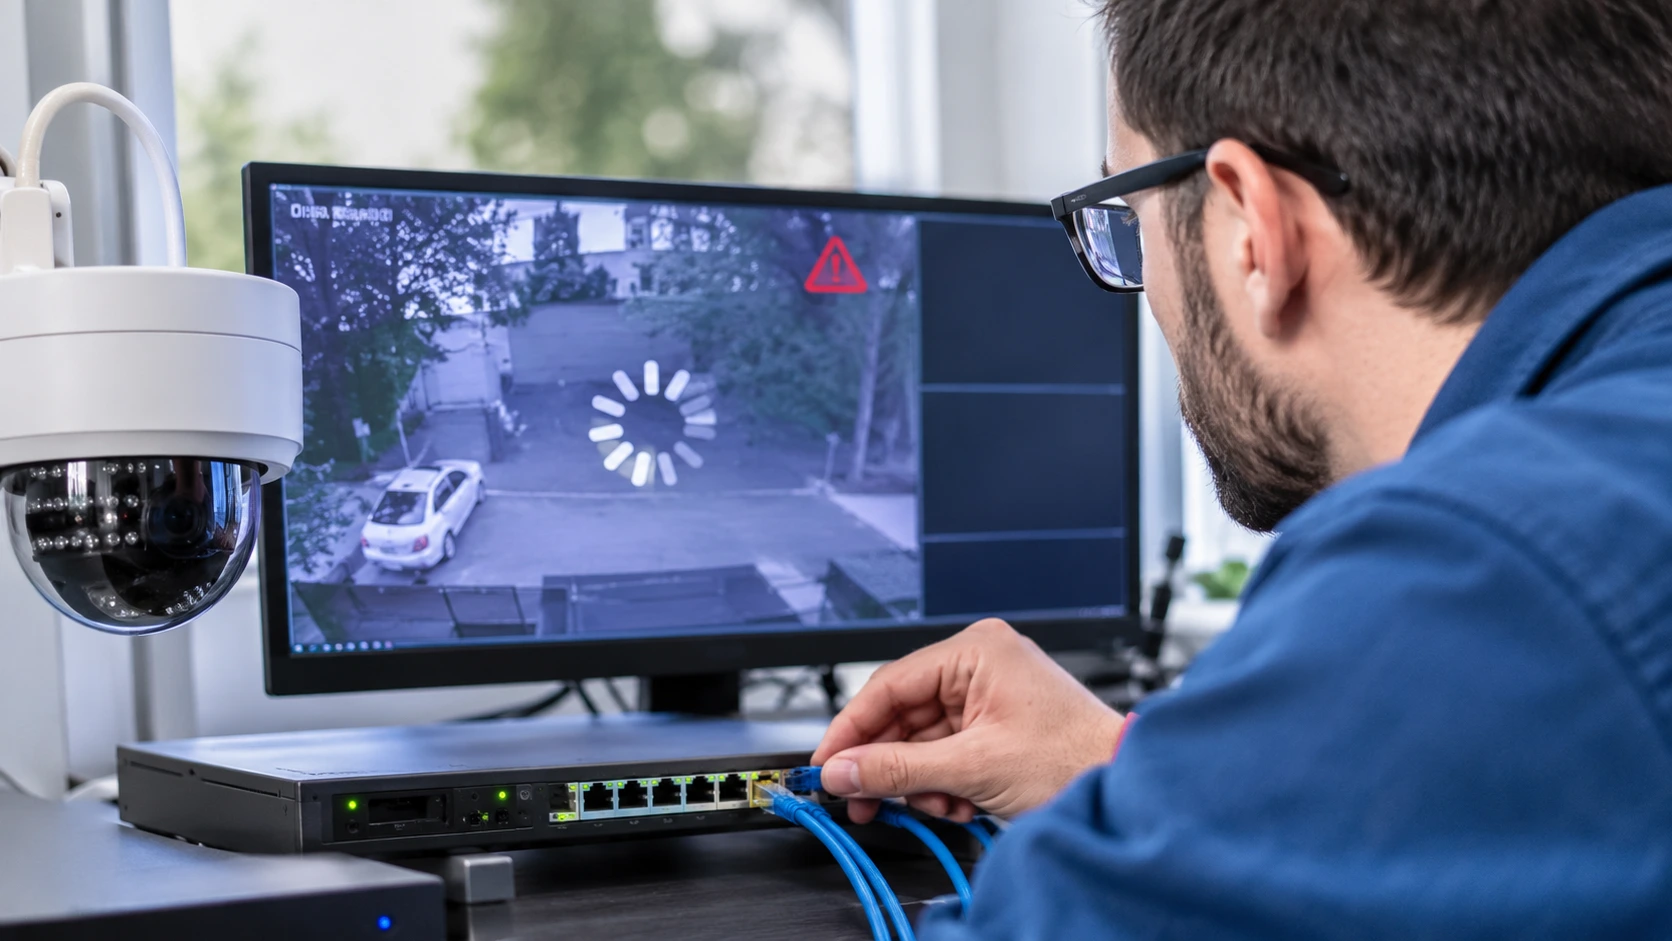
You launch your live view to find the picture frozen, lagging, or choppy, sometimes several seconds behind. Your recordings may show clips with blacked out boxes or skips in the video feed. They’re all warning signs of a network issue, and it doesn’t matter if you have four or forty cameras.
This tutorial covers how to troubleshoot, solve and prevent video packet loss and lag on IP cameras. You will find out what creates the lag issue, how to test for it in seconds, and effective solutions you can implement. And get some handy tips for minimizing IP camera lag so your live feed remains fluid and recordings intact.
What Is Packet Loss on an IP Camera?
IP cameras transmit video as tiny pieces of data, known as packets, through your network to the recorder (NVR), app or cloud. Packet loss occurs when some packets never reach their destination or are received too late to be of any use.
CCTV network packet loss is usually seen in:
- Pixelation, ghosting, or gray blocks in the photo
- Video Freezing Or Jumping
- Gaps or corrupted sections in recordings
- Cameras repeatedly going offline and reconnecting
- Green or corrupted frames
A loss of packets is similar to latency (how long between something happening and you seeing it) and jitter (uneven time between packets), but is not the same. They all affect the quality of video, and repairing the network fixes them all.
Common Causes of IP Camera Video Lagging Issues
Once you figure out the cause, the cure is much faster. The usual suspects are:
- Network congestion:When sharing too many cameras the resources will not be enough.
- Set bit rate too high: camera streams at a rate beyond network capacity
- Weak WiFi signal: distance, walls and interference for your wireless camera
- Bad/corrupted cables: bad or incomplete terminations, kinks or cheap Ethernet cable
- Significantly long cables: >100 m (328 ft) for Ethernet
- Overloaded/poor switches & routers: bit throughput / CPU
- Duplex or speed mismatches: ports negotiating poorly
- PoE power insufficient: cameras restarting or disconnecting
- Network loops or broadcast storms: misconfigured switches
- Drivers are over the maximum of the recorder or software: free drive, CPU or channel.
- High res and frame rate settings: too much data to handle!
- Low upload speed on your internet: especially for remote access
Step-by-Step: How to Fix Video Packet Loss and Lagging on IP Cameras
Follow these steps in order, from the simplest checks to deeper changes. Change one thing at a time so you know what actually worked.
Step 1: Check Whether the Problem Is Local or Remote
First, determine where the lag occurs. The local live view is nice and smooth, but the remote live view over your phone app or connecting remotely is going to be a problem on over the internet upload bandwidth or cloud or relay?
If it’s laggy even on the local network then check out camera, cable, switch & recorder. This one test narrows the search dramatically.
Step 2: Test Cabling and Connections
For wired cameras, physical problems are a frequent cause of CCTV network packet loss.
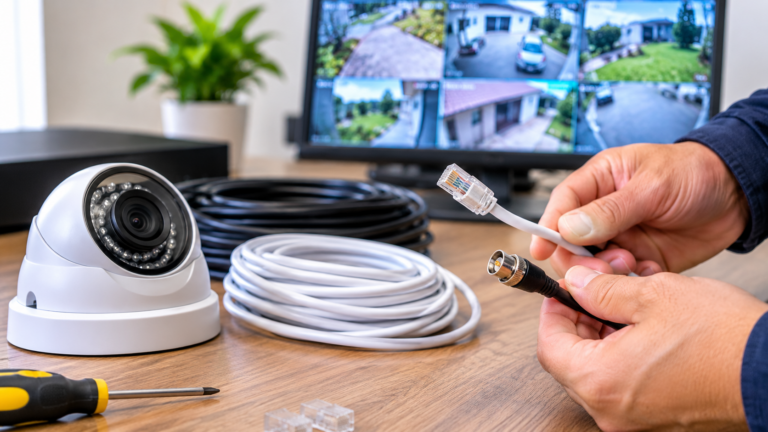
- Reseat the Ethernet connectors at the camera, switch, and recorder.
- Replace the cable with a short, known-good Cat5e or Cat6 patch cable to test.
- Inspect for crushed, kinked, or damaged sections and poorly crimped ends.
- Confirm the run is within 100 m (328 ft).
- Avoid cheap copper-clad aluminum (CCA) cable, which performs poorly, especially with PoE.
- Keep network cables away from mains power lines and other sources of interference.
If the camera’s link light flickers or the connection negotiates at 10 Mbps instead of 100 Mbps or 1 Gbps, suspect the cable or connector.
Step 3: Check PoE Power
A lack of power in the camera can cause it to crash, skip or disconnect.
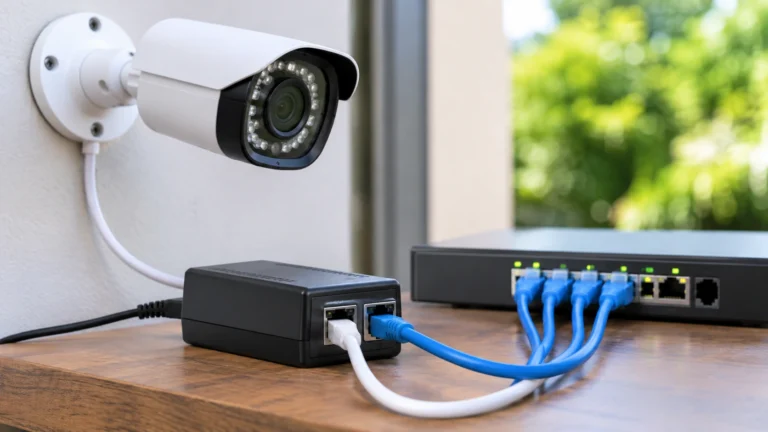
- Make sure the entire power budget on the PoE switch is available to provide power to the camera or cameras, and the IR illuminator if you will use it at night.
- Check if the PoE standard of the camera (802.3af or 802.3at) is supported by your switch.
- When system voltage drops, you would take in the long runs and the cable.
Once the light has passed, if the delay is reduced then the supply might be lacking in power and having to contend with the demands placed on it by the infrared LEDs.
Step 4: Lower the Camera Bitrate, Resolution, or Frame Rate
This can also be one of the best methods for how to reduce IP camera latency and loss. 4K camera streaming at a high bitrate can saturate a network well capable of 1080p.
Make these camera setting adjustments:
- Just take a more reasonable bitrate for the resolution
- B. Reduce resolution ( such as 15 fps is often sufficient for general surveillance)
- Use H.265/H.265+ or H.264+ compression, if provided, to conserve bandwidth
- Give me the sub stream or show the sources to record, for example give me the main stream.
- Forbid to use a constant, very high, rate: use a variable (VBR) rate, but of course not higher than a certain limit.
- Only reduce I-frame interval on guidance from hardware manufacturer; shorter/longer I-frame intervals can cause issues.
Calculate the total bitrates of all of your cameras against your available and subtract from the total volume of the network. If this total is still greater than the switches up links or the recorder capacity, then it brings a headroom, and therefore an overhead.
Step 5: Fix Wi-Fi Problems for Wireless Cameras
If you’re using your camera over the Wi-Fi and experiencing lag on your IP camera, the Wi-Fi might be the issue.
- Place the camera closer to the router or place an access point / mesh node close to the camera.
- Check the signal at the camera location, not closer to the router.
- 5 GHz for fast short range 2.4 GHz for long range and through walls depends on the camera.
- Switch to a less crowded Wi-Fi channel.
- Don’t set the camera too close to a microwave oven or cordless phone, etc.
- Cut down on the number of bandwidth-burdening devices it handles.
- If you have an Ethernet port on your TV, and you can plug your Ethernet cable into it, then do so. It usually provides a more reliable streaming experience than Wi-Fi.
Step 6: Inspect Your Switches and Router
Network equipment is a common bottleneck.
- 10/100, get gigabit switch (or more) for multi-camera systems.
- Ensure that there is sufficient capacity on the switch backplane and the uplink for the combined traffic of all the integrated cameras.
- There is some aggressive engineering that is taken to the limits, don’t daisy chain so many switches you exhaust all your traffic on one link.
- Reboot network equipment and update its firmware.
- Verify ports for errors, collisions or high discard counts if your switch includes a management port.
- Renew the lacking machine that operates just as well but cannot sustain the stream of the video.
- Ports are achieving the agreed speed and full duplex.
Step 7: Separate Camera Traffic from the Main Network
Video streams are competing with everything on your network including streaming, gaming, file transfers, and more.
- Put the cameras onto a separate switch or VLAN.
- Prioritize camera traffic using QoS (if your hardware is able).
- And make sure camera traffic doesn’t go over the same very busy link that you need for your general internet.
Another network enhances security by segregating the cameras from other devices.
Step 8: Recognize Network Loops and Misconfiguration
If the entire network has slowdowns or cameras are disconnecting intermittently, check:
- Loops (an accidental cable between two ports of the same switch)
- Multiple devices or cameras with same IP address
- A weak DHCP implementation, such as cameras continuously renumbering themselves. (Set static IP addresses or DHCP reservations instead.)
- Multicast or broadcast flooding leading to network congestion
- Spanning Tree Protocol (STP) prevents loops.
Step 9: Review the Recorder (NVR) and Storage
Occasionally it’s the recorder that is the weak link, not the network.
- Ensure your NVR has enough total bitrate and channels for your upload.
- Check CPU and memory load when streaming many cameras.
- Consumer or failing disks may lead to missing frames.
- Make sure the drive isn’t almost full or exhibiting errors.
- Update the NVR firmware.
- Not only should we not overload the NVR with many high-res live streams, but this could also slow down the NVR.
Step 10: Return to Remote Viewing and Internet Bandwidth
If lag present only during remote viewing:
- Your upload speed. In your home Internet connection, the speeds of upload and download are not always equal.
- Use the camera’s sub-stream for remote viewing.
- Reduce remote stream quality in the app.
- Reduce the number of simultaneous remote viewers.
- Troubleshoot port-forwarding or relay-server. Some systems do reverse to relay-server if direct connection fails.
- While watching, do not load up the line with an alternative upload.
Step 11: Upgrade Firmware and Software
Camera, NVR, or App Firmware Bugs: Firmware may not process packets well, the stream may be unstable or experience lag. We recommend using the latest stable version available if you are able to locate release notes for the model.
Step 12: Select the Appropriate Protocol Settings
You know how video is delivered.
- TCP resends lost packets so is more reliable but can introduce delay.
- UDP is faster, but you may get artifacts if you lose some packets.
- RTSP Streams. If you have artifacts, use TCP. If you have a delay, use UDP with a good network.
IP Camera Network Troubleshooting: Quick Diagnostic Tests
Troubleshooting IP Camera Network Networks is very simple by just trying a couple of easy tests.
- Ping test: ping the camera in a loop. Replies will constantly appear dropped or with high and bouncing delay.
- Verify link speed: check the switch port to see if it is displaying the speed you want (100 Mbps or 1 Gbps).
- Test an individual camera: when the problem ceases when tested individually, then the limit is being reached by recorder or the network.
- Try a different port: if the port functions with other cameras, try a different port and see if it’s a port problem or a camera problem.
- Remove camera: connect the camera as the recorder or notebook computer with a short cable.
- Check bandwidth: maximum bandwidth is available from the traffic statistics of the switch or the router.
Symptom-to-Cause Quick Reference
| Symptom | Likely cause | First fix to try |
| Pixelation or gray blocks | Packet loss, congestion | Lower bitrate, check cable |
| Frozen video on one camera | Cable, PoE, or port problem | Swap the cable and port |
| All cameras lag at once | Switch, NVR, or bandwidth limit | Check switch and NVR load |
| Lag only on Wi-Fi cameras | Weak signal or interference | Move closer or add an access point |
| Lag only remotely | Upload speed or relay | Use sub-stream, check upload |
| Lag at night | Insufficient PoE or high IR bitrate | Check power budget and bitrate |
| Camera keeps going offline | Power, IP conflict, or cable | Check PoE, IP settings, and cable |
| Recording gaps | NVR or hard drive trouble | Check storage and NVR load |
Tips to Reduce IP Camera Latency
If a priority to delay has to be considered for the very purpose of watching live views of an IP camera, then the following adjustments will help:
- Use a wired connection whenever possible
- Lower resolution and bitrate for live viewing
- Video guides for live streaming your events use the sub stream when on mobile and multi-camera views
- Keep the number of switch hops low
- Use hardware-accelerated decoding on viewing devices
- Avoid unnecessary transcoding or relay servers
- Employ a smaller I-frame interval, and minimise buffering if at all possible.
- Close any other device resource hungry applications you are using.
Remember that some delay is normal: On average, you should not get more than several tenths of a second or two delay from compression and buffering, but this may be more depending on the protocol used and the system involved.
How to Prevent Packet Loss in the Future
- Create a bandwidth budget for when you bring cameras online. Determine the total bit rate and leave some headroom.
- Use high quality cable/connectors and test after installing.
- Choose a PoE switch with enough power budget.
- Use a separate network or VLAN for cameras.
- Prefer wired connections over Wi-Fi where possible.
- Update firmware regularly and monitor system health.
- Label and document cables and IP addresses.
- Set your review preferences when installing cameras or adjusting resolution.
When to Call in a Professional
If you cannot identify the problem, or the system is too large or complex to troubleshoot yourself, seek professional help. This is especially important when cameras protect critical areas of a business or workplace. An experienced installer uses cable testers and network analyzers to find faulty connections, misconfigured switches, and bandwidth issues. For reliable support, consider professional security camera installation Indianapolis services from Cam Security Surveillance.
Conclusion
Tackling Video Packet Loss & Lag. It’s unlikely that you’ll have a lone dark force driving all of your lag and packet loss. When you’re struggling to get rid of lag and packet loss, there are only a few real culprits that could be to blame: your cables aren’t up to the job, the PoE power isn’t strong enough, your bandwidth is over-extended, your Wi-Fi is feeble, your network gear is old and weak, or you’ve got a recorder under duress. Follow these steps, test one thing at a time, and benefit from clever features like lower bitrates and sub-streams to banish lag and packet loss on your IP camera feeds.
All said, the only way to ensure that your IP camera videos aren’t slow is to properly plan your network. So spend a little time benchmarking your bandwidth, buy decent equipment, and keep your system well maintained and it will be worth it the first time you need to revisit your footage.
Time to choose the best IP cameras, PoE switches, cables, and networking accessories? Explore Cam Security Surveillance for helpful buying guides, expert tips, and equipment advice to keep your system running smoothly. Contact us today for professional security camera guidance and installation services.
FAQs
How do I fix video packet loss on IP cameras?
Begin at the physical layer: test cables, connectors, and PoE power. Then lower camera bitrate and frame rate, verify switch capacity, and isolate camera traffic from the main network.
What causes the delay in my IP camera?
The top reasons include network congestion, too high a bitrate setting, poor Wi-Fi, bad cables and a cluttered recorder or switch. Remote lag is frequently caused by the upload speed being too low.
What is an acceptable amount of packet loss for CCTV?
None ideally. Even 1% can cause visible artifacts in video. A good local network should have close to zero packet loss.
What is the benefit of higher bitrate?
To an extent. Once you reach a point, the more bitrate the less you will notice any difference but will occupy a lot more bandwidth and storage, possibly leading to packet loss in a limited network.
Is Wi-Fi or Ethernet better for IP cameras?
Ethernet is typically more stable and reliable for constant video. Wi-Fi can work well with a good signal but is more susceptible to distance and interference.
Can a bad switch cause IP camera lag?
Yes. A switched LAN can still experience problems from low-end or overloaded switches, 10/100 ports on busy networks, and long daisy chains.
What causes lag only at night?
Typically night mode raises the noise and bit rate, while the IR LEDs draw additional power. Night mode can cause the network or poor PoE supply to become saturated.
Can I reduce latency without lowering image quality?
Yes, most of the time. H.265 compression, wired internet, sub-stream for live view, and an appropriately sized network.