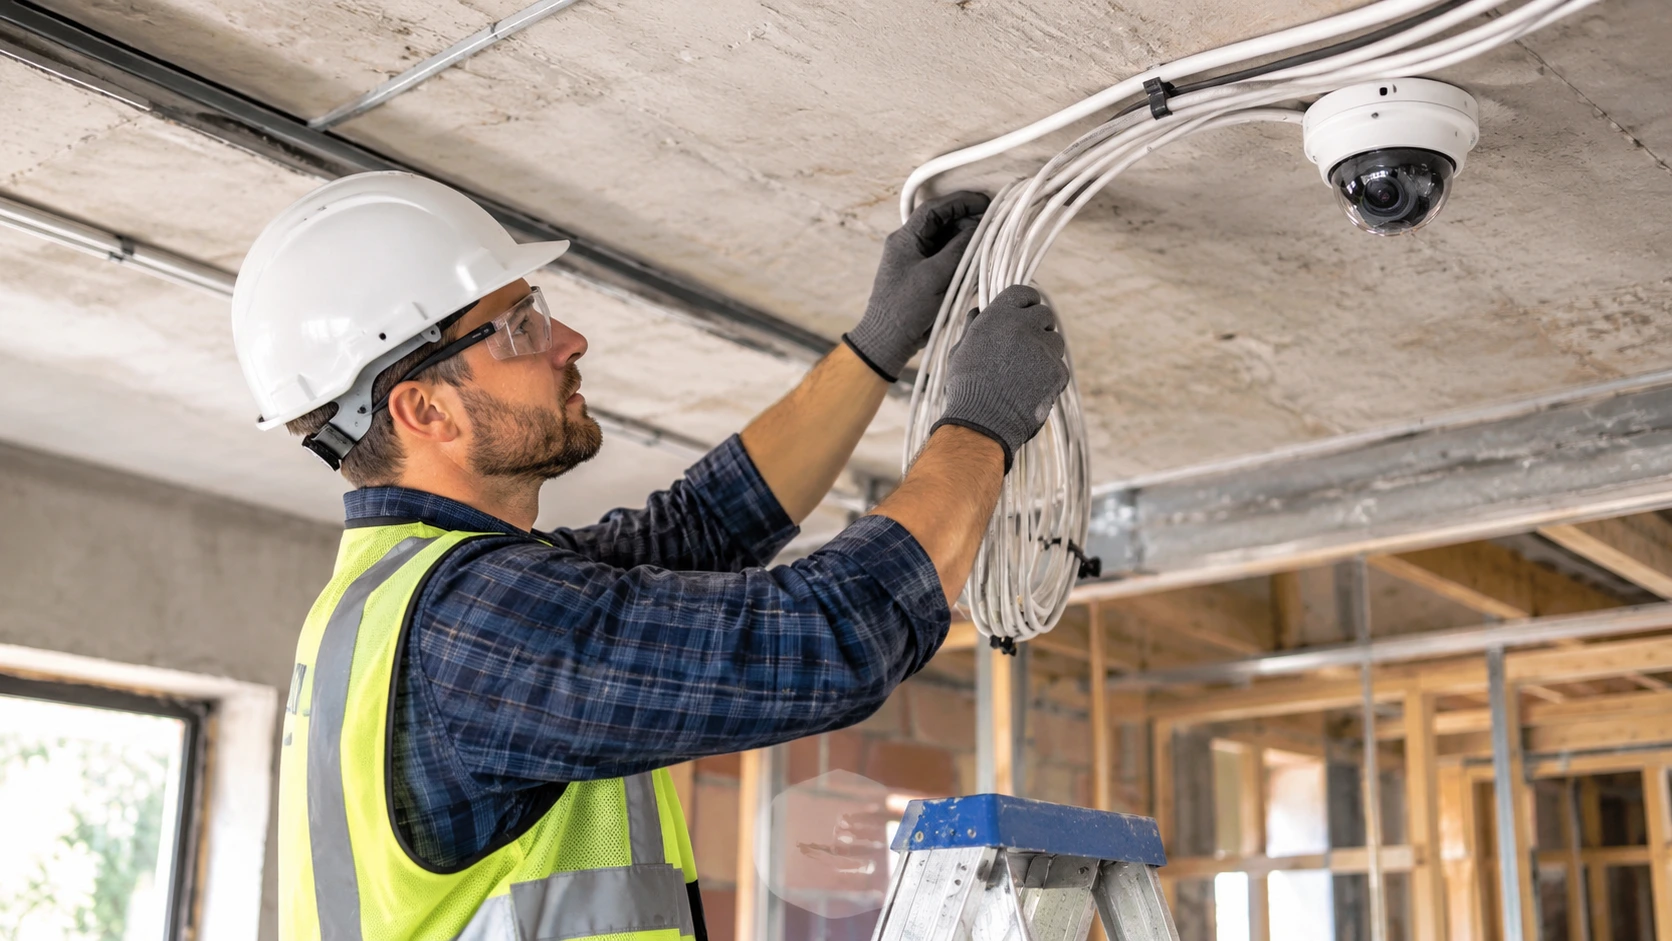
When building a new house, shop, office, or warehouse, you could ask, “Should we plan for the installation of CCTV wiring?” The short answer: yes, you should. We can install the wires when walls are still exposed, when ceilings are accessible, and conduits are still able to be run at a fraction of the cost of doing so after the fact.
Learn why planning early is critical, how to plan security camera cable, what to install and what pitfalls to avoid so your system operates as desired for years to come.
Is It Okay to Plan for CCTV Wiring During Construction?
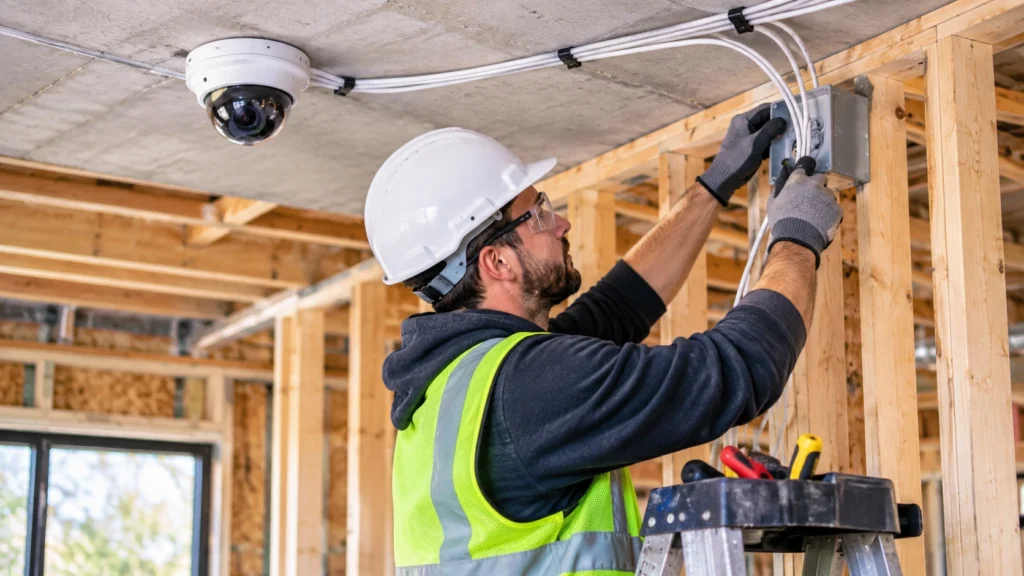
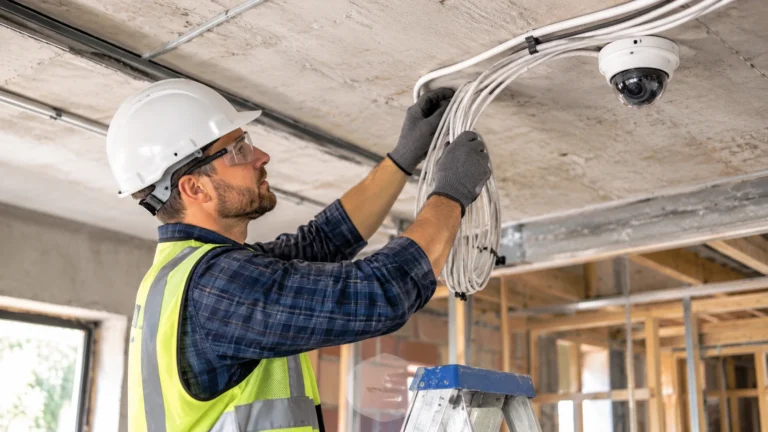
Yes. You should do it now. This is actually the best time to run cables. Electricians, builders, and low-voltage installers are on site, drywall isn’t in yet, and it’s much easier to route cables. Once the project is finished, it’s a lot more work to bore through drywall, lift floor tiles, or run ugly surface wire.
Whether you’ve decided on your cameras and recorder or not, you can install the cabling infrastructure now. The running and installation of the cabling and conduit is the hardest part to change. Cameras and recorders are easy to upgrade.
Benefits of CCTV Wiring During Home Construction
The benefits of cabling your CCTV system whilst your property is under construction are difficult for a retrofit to beat:
- Lower cost. With walls and ceilings open, it is a lot less costly to get the job done. You do not need to patch, repaint or make repairs after the fact.
- Hidden, tidy cabling. All wiring is carried inside walls, in the ceilings, and in conduits – nothing is on view.
- Good TV placement. Place the TV where it looks best, not just where the cable could reach.
- More robust, more dependable systems. Correctly protected cable will last much longer and be less susceptible to damage, interference and signal loss.
- Future-proofing. Extra conduit and spare cable make it so much easier to upgrade and add cameras, and new technology.
- Easier installations. If the cameras are installed at a later date, the hard part has already been completed.
- Improved aesthetics. Building value. A subtle, professionally wired solution is an attractive proposition.
Step-by-Step Guide to Security Camera Cable Planning
Effective security camera cable planning can take place long before a cable is even pulled. Here’s how.
Step 1: Define Your Security Goals
Decide what you need to protect and why. Consider entrances, driveways, garages, perimeters, stairwells, cash areas, loading docks, server rooms, and blind spots. Your goals determine how many cameras you need and where.
Step 2: Draw a Camera Placement Plan
Mark the camera locations on the building floor plans. Consider:
- Coverage angles and fields of view
- Height of the mounting itself, usually high enough to prevent tampering but low enough for the faces to be detected
- Conditions Related to Lighting Backlit by Windows and Doors
- Indoor or outdoor places
- Additional future areas of growth where cameras can be installed
Give a copy of these designs to your builder and electrician before you have the drawings done.
Step 3: Choose Your System Type
Your choice affects which cables you run.
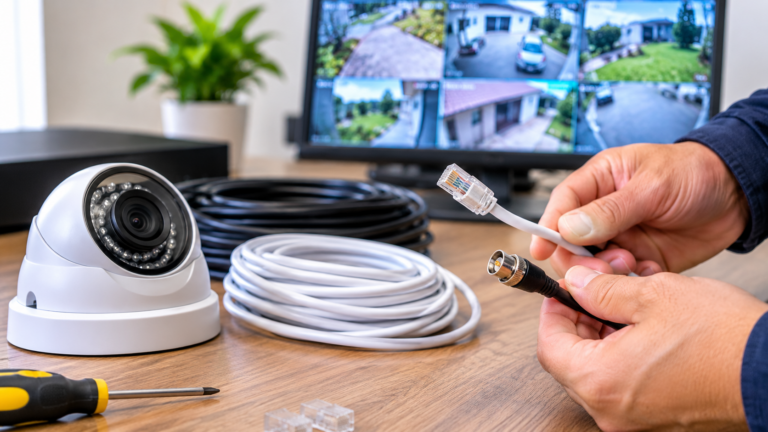
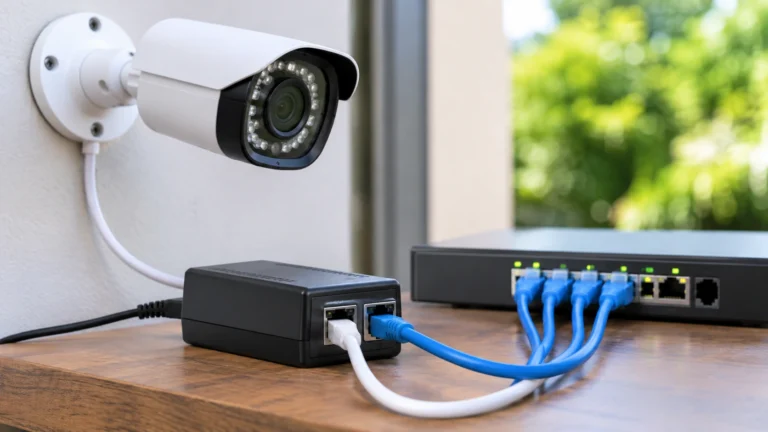
- IP/PoE (Power over Ethernet) cameras require a Cat6 (or higher). Ethernet cable that offers data and power via a single cable connection.
- Analog HD systems (HDCVI, AHD, TVI):: require RG59 coaxial cable with power or a combined Siamese cable.
- Mixed: so many of the builders put Ethernet everywhere, because they are compatible with modern IP cameras and other applications.
Depending on what you want to achieve with your new build, Cat6 cabling is the most flexible way of cabling for all IP/PoE cameras.
Step 4: Plan the Recorder or Network Hub Location
Choose an easily accessible, lockable, well-ventilated location for the DVR/NVR, PoE switch and router. Recommended locations include: utility closet, dedicated equipment room, or cabinet that locks. Check that the following are available:
- Good power outlets preferably with a surge protector/ UPS
- Adequate ventilation to prevent heat buildup
- Room to extend
- Protection from moisture, dust, and unauthorized access
Have all camera cables wired back to this one location (a “home run” configuration).
Step 5: Map the Cable Routes
Plan routes through walls, ceilings, attics, and risers, and note any difficult areas such as concrete slabs, fire barriers, or multi-story shafts. Keep these points in mind:
- Use the shortest practical path and stay within cable length limits (about 100 m or 328 ft for Ethernet)
- Keep video cables separated from mains power cables to avoid interference, crossing at right angles when necessary
- Avoid running near fluorescent ballasts, motors, and transformers
- Leave service loops (extra slack) at both ends for future adjustments
Step 6: Install Conduit and Pull Cable
Conduit costs pennies but pays for itself. Conduit will protect your cable and allow you to pull new cable without opening the wall.
- Install empty conduit to key points where you may want a camera in the future, like outside corners and entrance points.
- Add pull strings inside empty conduit
- Use UV-rated, outdoor-rated cable for exterior runs
- Use plenum-rated cable in building code rated applications
- Label every cable at both ends
Pre-Wiring for Security Camera Installation: What to Include
A good pre-wiring kit for security camera installation usually consists of:
- BNC connector, either the coax or Cat6 cable ran to each planned camera location.
- Re: Accessories for the camera points junction box or mounting brackets, low-voltage
- Shroud for bicycle run, shotts and
- Uphill directions
- Power and Ventilation at a Central Equipment Location
- Additional camera runs to spare locations
- Power sockets near to the recorder and any other instruments which rely on power.
- Cable labeling and a documented wiring map
- Cables For accessories and accessories like video intercom, access control, car anti-theft, door bells, alarm sensors, etc.
You won’t have to go through the building process again, even if you don’t mount a bunch of cameras from the beginning. Just pre-wire other locations so you can easily add them in the future.
CCTV Cable Installation in New Buildings: Best Practices
For new buildings where the majority of the CCTV cable is being installed, these cable installation techniques will help you get a tidy, professional finish that will last.
- Communicate with the contractor as early as possible. Incorporate the security plan into the project before the walls are sealed. Distribute the plan to the electrician, architect, and low-voltage installer.
- Use local building codes. Fire, electrical and building codes are different from place to place. A licensed professional installer will be familiar with local requirements.
- Choose high quality cabling Using high quality cabling that utilises pure copper conductors and has good shielding will give a better performance than cheap copper clad cabling.
- Use weatherproof boxes, weather all exterior entry points.
- Surge protection helps prevent you from experiencing equipment damage due to surges.
- Test each time. Test with a cable tester before the wall is closed up in case the cable has a break.
- Document your records. Take photographs and make diagrams of cable routing before you put the walls up.
- Prevent kinking/filaments/signal lines from excessive bends. Maintain minimum bend radius of cable.
- Take care of cable lengths Longer runs might require a switch or extenders along the way.
Common Mistakes to Avoid
- Paying for expensive retrofits after completion of the construction.
- Not running enough cables and needing to add a few more later
- By foregoing conduit in sections where replacing cables would be difficult
- Positioning cables near high-voltage lines, resulting in interference and power lines in video
- Recording location is not well-ventilated or secure
- No cable labels – troubleshooting is up to luck
- Low-quality cable to save a bit of cash up front
- Forgetting outdoor power and weatherproofing
- Ignoring blind spots in the camera plan
- Not testing cable before closing walls
Where to Place Cable Points: A Quick Guide
| Area | Why it matters |
| Front and rear entrances | Most common entry points |
| Driveway and garage | Vehicle and package security |
| Side gates and perimeter | Coverage of hidden approaches |
| Main hallways and stairs | Monitoring interior movement |
| Ground-floor windows | Frequent break-in locations |
| Cash, storage, or server areas | High-value zones |
| Backyard and outbuildings | Often overlooked areas |
| Future expansion points | Cheap to add now, expensive later |
How Much Does Pre-Wiring Cost?
Cost depends on building size, cable type, number of camera points and local labor costs. In general, pre-wiring a new construction is far more inexpensive than retrofit because drywall is not yet installed and wall repair is unnecessary. Cost can change quite a bit, so get quotes from licensed installers on exactly what is and isn’t included-cable, conduit, termination, testing, documentation, etc.
Should You Hire a Professional?
If you’re constructing a new residence, consider using a licensed low-voltage or security installer. They will be able to:
- Suggest camera positions, placement and camera cabling routes Check schemes and suggest positions for cameras and routes for camera cabling.
- Codes should be followed
- Work closely with electricians and builders
- Use proper termination and testing of cabling
- Avoid mistakes that are hard to fix later.
A professional can complete the rough-in wiring before camera installation begins. This helps ensure a reliable setup and long-lasting system performance. For professional security camera installation Indianapolis services, choose a properly planned installation from the start.
Conclusion
So, can I consider CCTV wiring while building? Yes, you should. The building wired for a security system is the cheapest, cleanest, and best solution you can get. The right security camera cable planning, high-quality materials, protective conduit, and a few additional wiring options for the future will save you from the messy retrofit and give your system ready to go from day one.
And especially if you’re doing CCTV wiring as part of new home construction or you’re designing CCTV cable installation into new structures as part of a commercial project, talking early with your builder and installer can be invaluable.
Struggling with designing your pre-wiring or deciding your cable, camera, and accessory choices? Visit Cam Security Surveillance for helpful how-to guides, comparison videos, and other support for your next project. Contact us today for professional security camera installation guidance and solutions.
FAQs
Can I wire CCTV during construction?
Yes. This is the perfect time to do so. Open walls and ceilings allow for cheaper and easier cable management and can be cleaner and more dependable than retrofits.
What cable is best for CCTV in a new build?
The best choice for most new installs will be to choose Cat6 Ethernet for IP/PoE cameras to give the most flexibility and future-proofing. Coax cable is an option for analog HD systems.
Do I need to buy cameras before pre-wiring?
No. You just need to specify the camera positions and the type of system that you want to use. Cameras can be added in at a later date.
How many cable points should I plan for?
Plan for your existing needs, then add points at the likely future locations. Spare runs are inexpensive during construction.
Can I run CCTV wiring and then still opt for wireless CCTV in the future?
Yes. Wired infrastructure is still useful because it can deliver power and network connections and it is a solid backbone. Most “wireless” cameras aren’t wireless, and wired connections tend to be more reliable.
Should CCTV cables run in conduit?
Conduit is the choice for outdoor runs, vertical shafts and any other place where access will be difficult later. It safeguards your wiring and simplifies future upgrades.
Can CCTV cables run next to electrical wiring?
Never operate them at the same time as mains power. Try to cross them at a right angle if crossing is necessary.
What is the maximum length of a CCTV cable?
Ethernet for IP cameras typically runs to about 100 m (328 ft). Coax cable runs can be extended as per the cable type and system, but the quality of the cable and the system conditions will impact the length.