Want a new WiFi name? Log into your router’s settings page, find the Wireless section, and type a new name into the SSID field. Save it, and your network shows the new name within seconds.
That covers the quick version. This guide explains how to change WiFi name on any router brand, through mobile apps, and what to watch out for once you save the change.
What Is a WiFi Name (SSID)?

SSID stands for Service Set Identifier. It’s just a technical term for the name your WiFi network shows when someone searches for it on their phone or laptop.
Every router ships with a default SSID, usually something generic like the brand name plus a string of numbers. This default name doesn’t tell you anything useful and can even hint at what router model you own, which isn’t great for security.
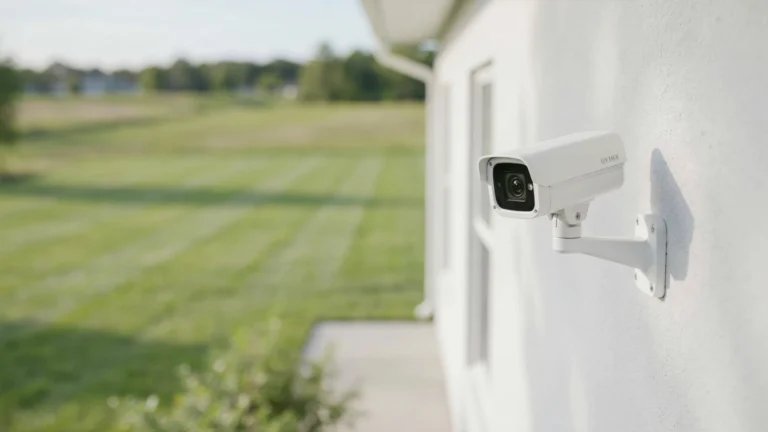
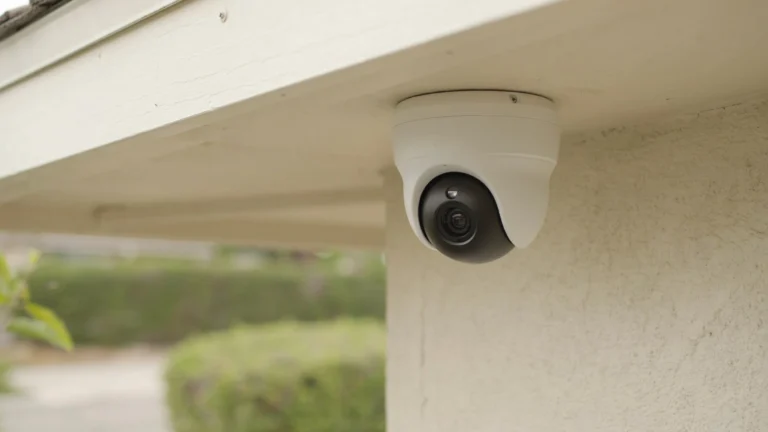
If your network name, password, and router settings all feel confusing to manage on your own, a wifi installation services team can set everything up correctly the first time. Cam Security Surveillance offers this kind of setup, so your network runs smoothly without you digging through router menus yourself.
Why Should You Change Your WiFi Name?
The default name gives away your router brand, which makes it easier for someone to guess default logins. A custom name also helps you tell your network apart from neighbors’ networks with similar generic names.
It’s also just more personal. A name like “Smith Family WiFi” is easier to recognize than “NETGEAR52.” Guests connecting to your home will thank you too.
What You Need Before Changing Your WiFi Name
You’ll need your router’s IP address, usually printed on a sticker on the device itself. You’ll also need the admin username and password, which is different from your WiFi password.
Have a device connected to the network already, either through WiFi or an ethernet cable. This gives you access to the router’s settings page in the first place.
How to Change WiFi Name on Any Router (Step-by-Step)
Most routers, regardless of brand, follow this same basic pattern.
- Open a browser and type in your router’s IP address, often 192.168.1.1 or 192.168.0.1.
- Enter the admin username and password to log in.
- Look for a section called Wireless, WiFi Settings, or Network Name.
- Find the field labeled SSID or Network Name.
- Type in your new WiFi name and save the settings.
- Reconnect your devices using the updated name.
This is the full process for how to change my wifi name on nearly any router sold in the last several years, since most brands follow a similar layout.
How to Change WiFi Name on Popular Router Brands
TP-Link: Open the app or web portal, tap Wireless, then edit the Network Name field directly.
Netgear: Visit routerlogin.net, sign in, go to Wireless under Basic settings, and update the SSID.
Asus: Log into the web interface, click Wireless under Advanced Settings, then edit the SSID field.
Linksys: Use the Linksys app or web portal, tap WiFi Settings, and change the network name.
Google Nest WiFi: Open the Google Home app, tap your network, select WiFi Settings, then Network Name.
Each brand phrases it a bit differently, but they’re all answering the same question: how to change ssid name on their specific interface.
How to Change WiFi Name Using a Mobile App
Most router brands now offer a companion app that skips the browser entirely. Download the app tied to your router brand, sign in, and look for Network Settings or WiFi Settings.
From there, tap the current network name, type in a new one, and confirm. Apps often apply the change instantly, without needing to type in an IP address at all.
Best Practices for Choosing a WiFi Name
Avoid using your actual name, address, or apartment number in the SSID. This makes it easier for strangers nearby to identify exactly where the signal is coming from.
Skip anything offensive or overly personal, since guests and neighbors can see the name too. A short, simple name works best, something easy to recognize but not tied to private details.
What Happens After You Change Your WiFi Name?
Every device connected to your old network name will disconnect. Phones, laptops, smart speakers, and cameras will need to reconnect using the new name.
This is expected and normal. Go through each device, select the new network name from the WiFi list, and enter your password again to reconnect.
Troubleshooting Common Problems
Devices can’t find the new network. Restart the device’s WiFi settings or turn WiFi off and back on to refresh the list.
Smart home gadgets show offline. Some devices need to be reconnected through their own app, not just your phone’s WiFi settings.
Old name still shows up. This usually means the router hasn’t fully applied the update. Restart the router to force the change through.
Guest network still uses the old name. Guest networks are often separate and need updating on their own, apart from the main network.
Tips to Keep Your WiFi Network Secure
Pair your new network name with a strong password for real protection. A unique name alone won’t stop unauthorized access if your password is weak. Cam Security Surveillance recommends using a long, unique WiFi password with WPA2 or WPA3 encryption to help keep your home or business network secure.
Turn on WPA3 encryption if your router supports it. Hide the network from public view if you rarely have guests, though this can make reconnecting new devices slightly more annoying.
Conclusion
Changing your network’s name is one of the simplest updates you can make. Once you understand how to change WiFi name through your router’s settings or its app, the whole process takes just a couple of minutes. Pick a simple, easy-to-recognize network name, pair it with a strong password, and reconnect your devices after saving the changes.
If you need help setting up a secure home or business network, Cam Security Surveillance is here to help. Our team provides professional WiFi and network installation services, router configuration, and security solutions tailored to your needs. Contact us today to make sure your network is secure, reliable, and ready for all your connected devices.
FAQs
How to change WiFi name without a computer?
Use your router brand’s mobile app, sign in, and edit the Network Name field directly from your phone.
How to change the name of wifi if I forgot my admin login?
Press the reset button on your router for about ten seconds to restore factory settings, then log in with the default credentials.
Does changing my WiFi name disconnect all devices?
Yes, every connected device will need to reconnect using the new network name.
Can I have two different WiFi names on one router?
Yes, many routers let you set separate names for the 2.4 GHz and 5 GHz bands, plus a guest network.
How often should I change my WiFi name?
There’s no set rule, but changing it after moving or after a security concern is a smart habit.