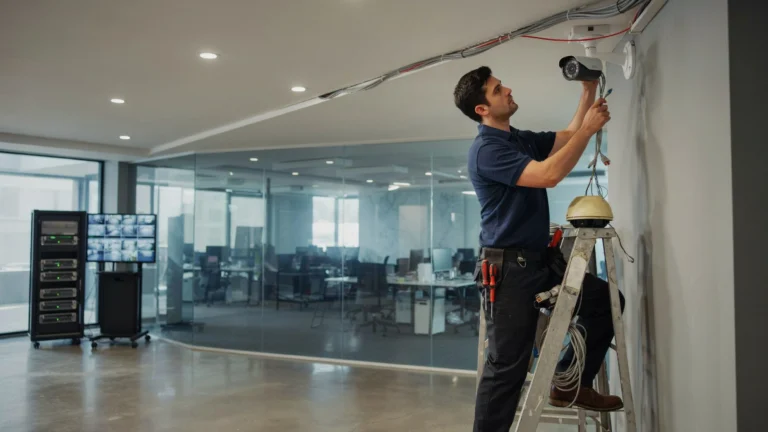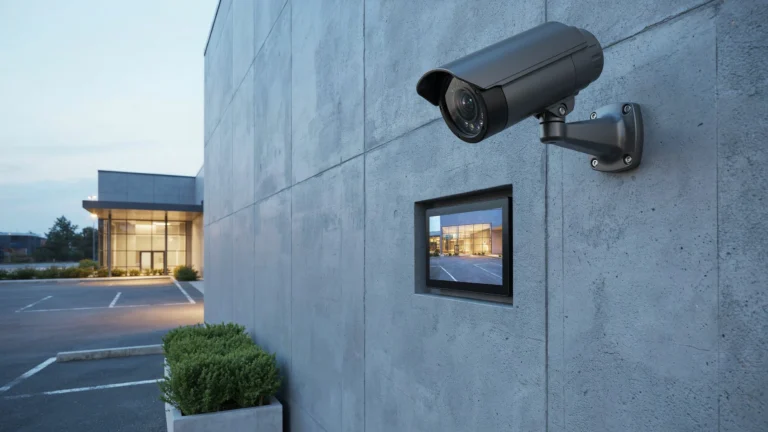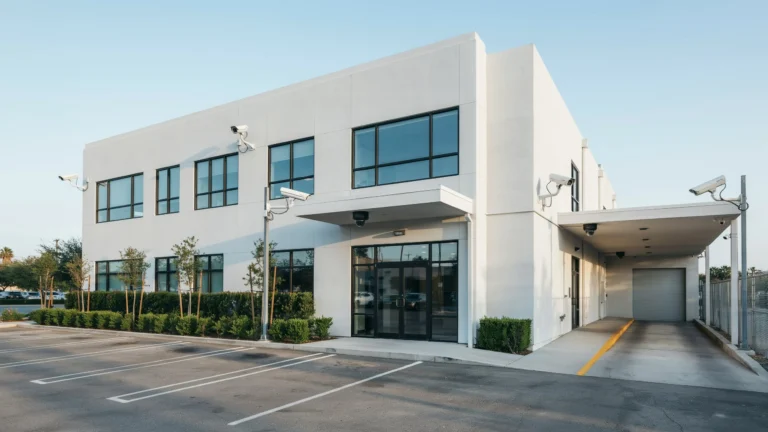
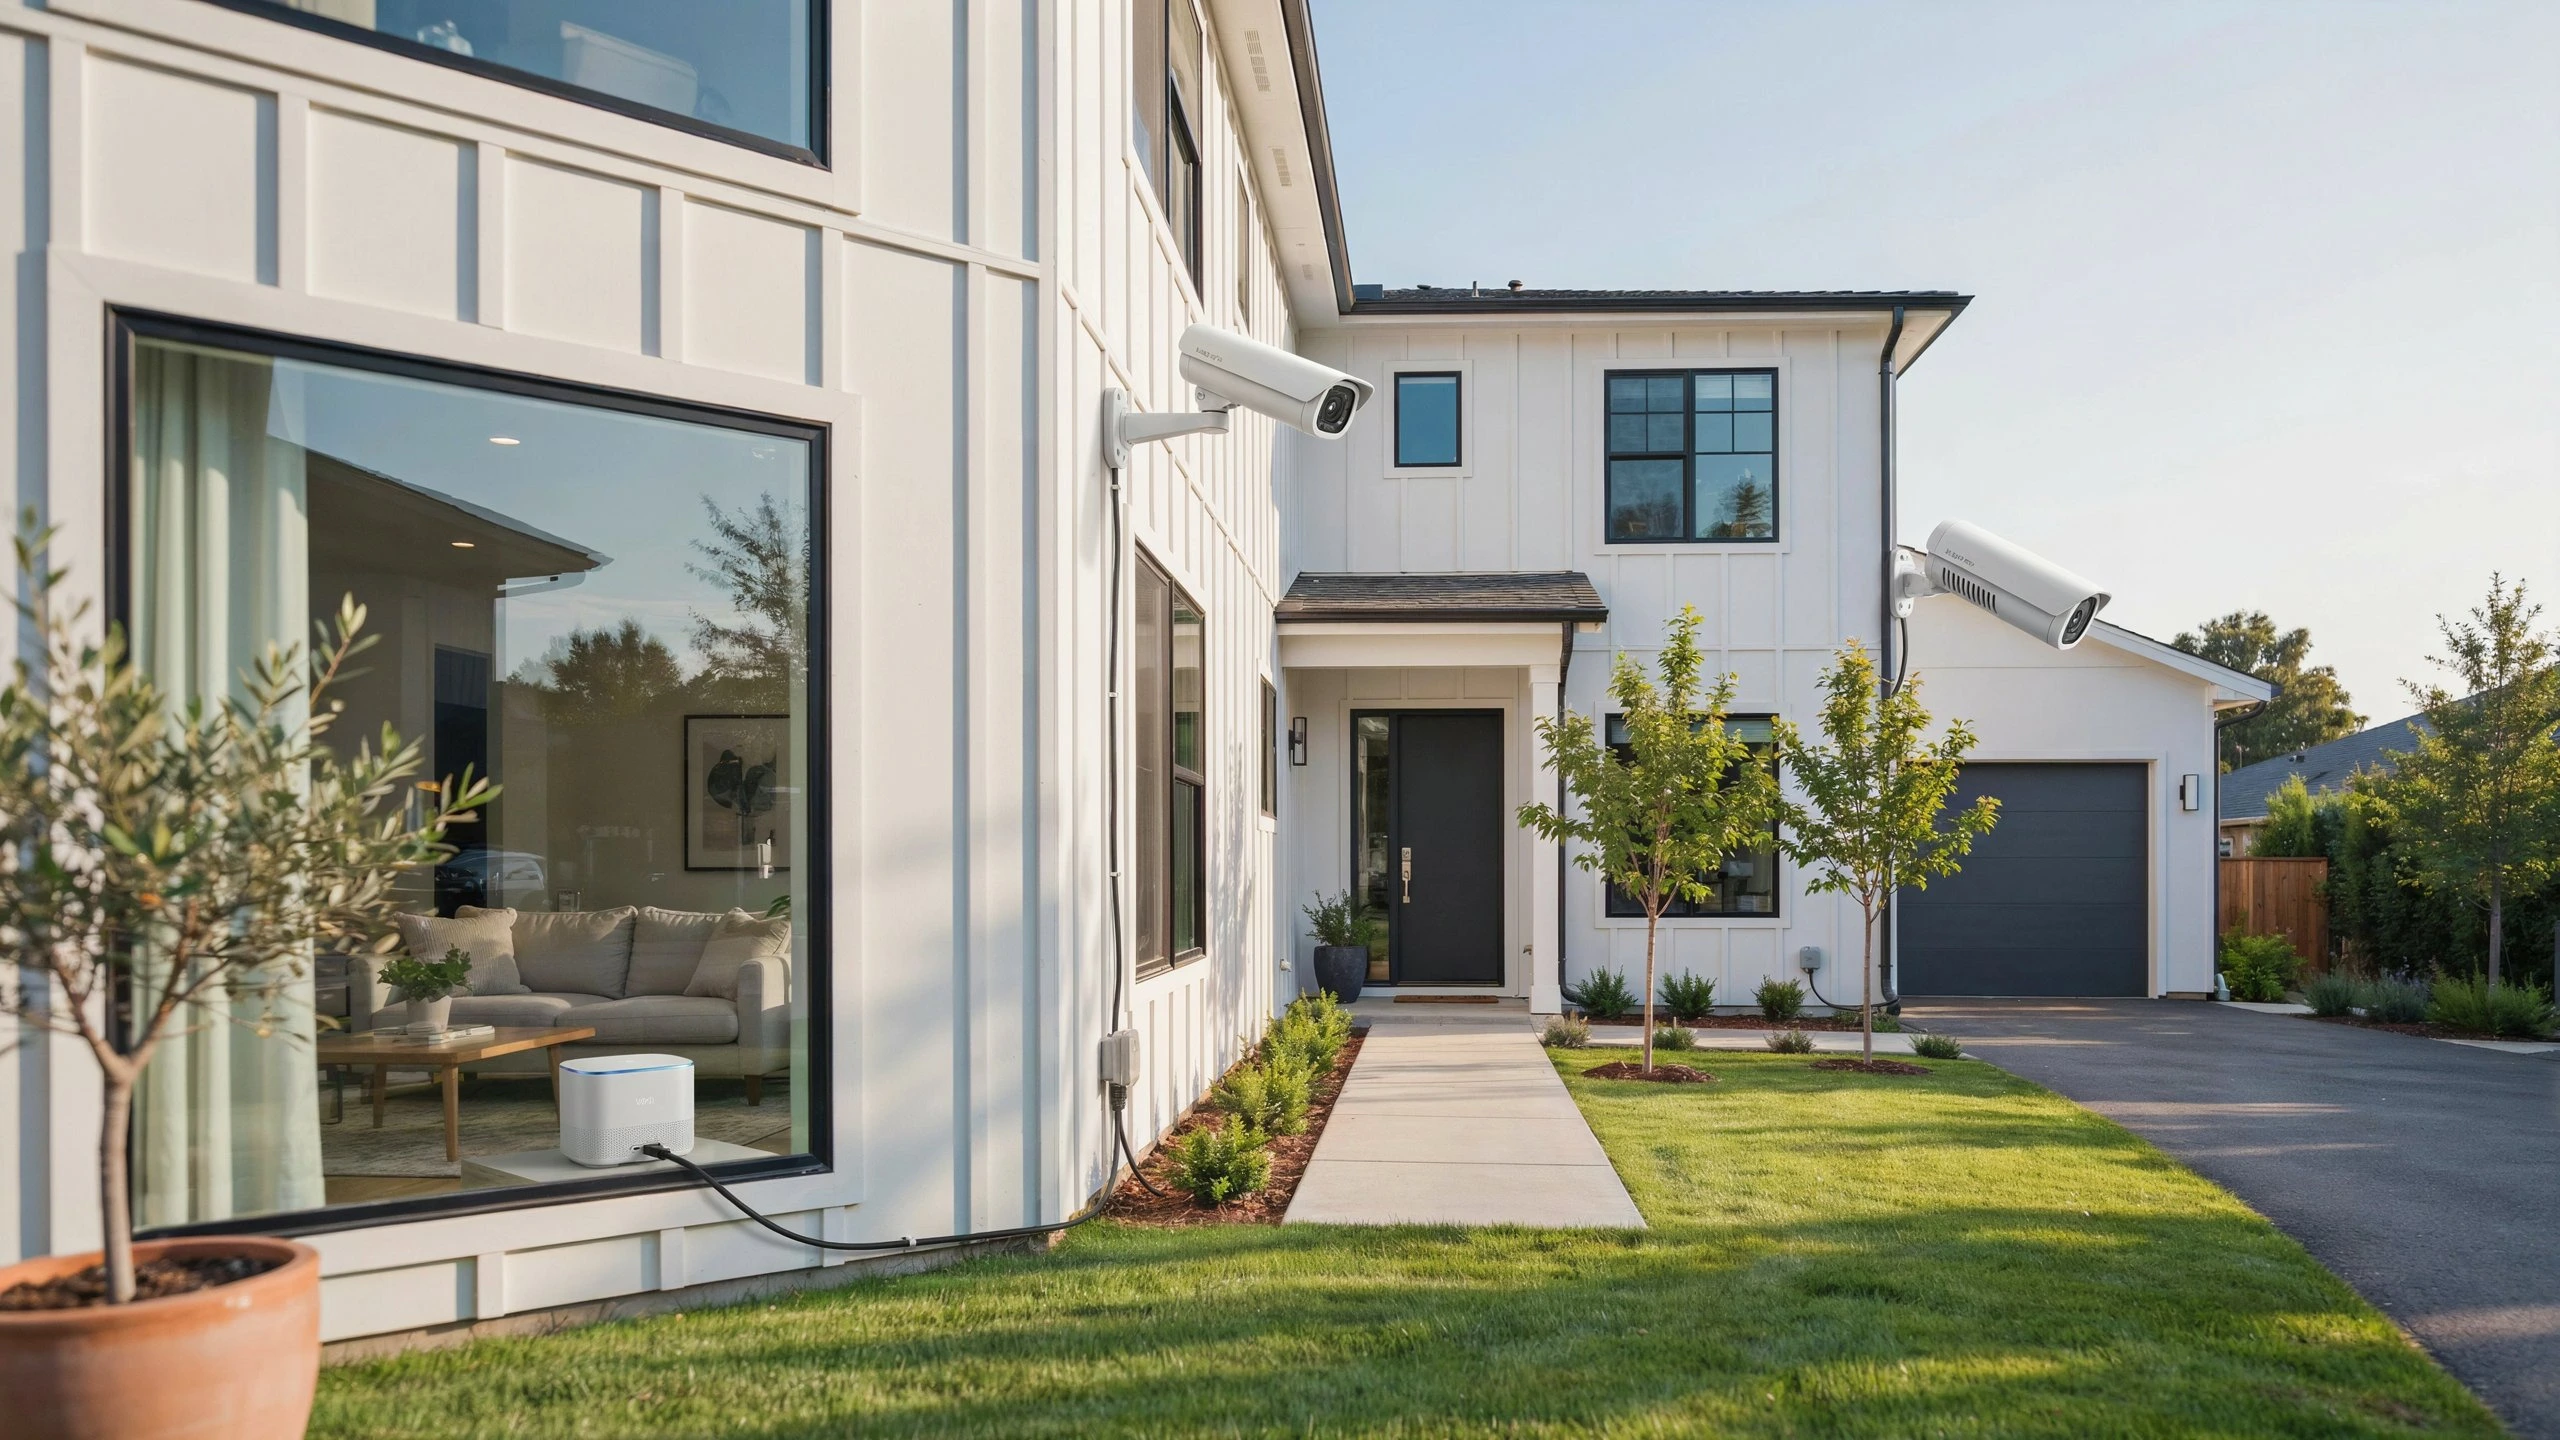
My issue with weak Wi-Fi for outdoor security cameras was the one problem I couldn’t ignore: making sure I had a good connection to cameras outside. Filming outside is challenging because your home’s walls, windows, concrete, metal, and furniture are all barriers and obstacles, and it’s farther to the router.
A good signal means less video lag, fewer motion detection delays, better recordings, better live views, and fewer cameras that disconnect. I focused on camera placement, router location, signal strength, and coverage. These steps can help create a more reliable Wi-Fi setup for outdoor security cameras and if you’d rather not do it yourself, a professional wifi installation service can handle all of this for you.
Why Wi-Fi Matters for Outdoor Security Cameras
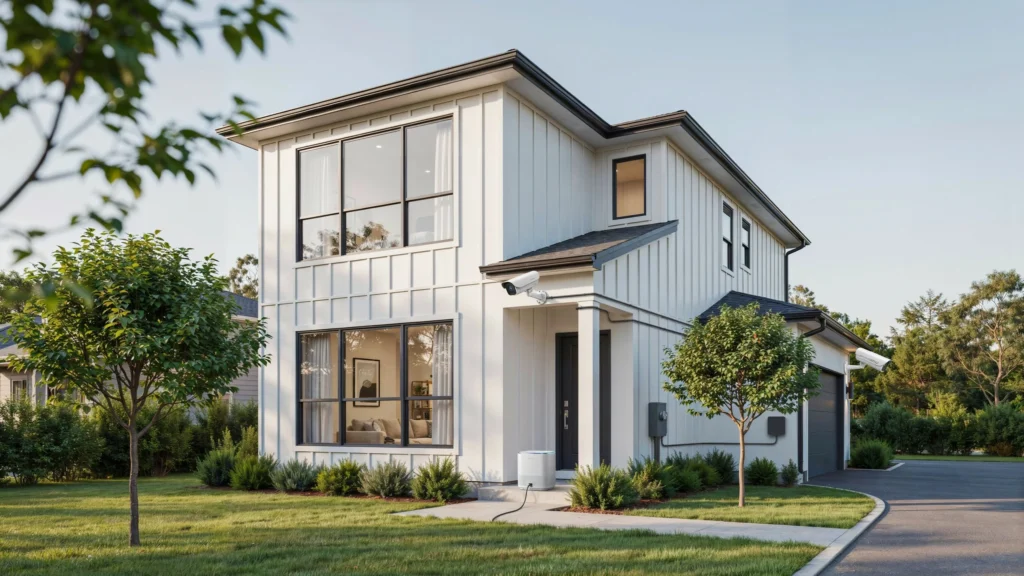
Wireless security cameras depend on a stable network connection to transmit video and other data.
Weak connections can cause:
- Video buffering
- Delayed push notifications
- Poor video resolution
- Cameras disconnecting
- Failed Live View loading
- Disconnects in the middle of recordings
And this isn’t just about the distance from your camera to your Wi-Fi router. Walls, other electronics, metal, other Wi-Fi networks, and the transmitting power of your router can all impact your Wi-Fi strength.
Step 1: Check the Wi-Fi Signal Where the Cameras Are Going
The biggest mistake you can make is testing your Wi-Fi only from inside your house and then assuming it will work just as well outside.
Test the connection at the locations where you intend to install the cameras. This gives you a much better idea of whether your current network can support the cameras, or whether you need to extend coverage.
Some camera systems have their own signal-strength indicator. Reolink, for instance, says that for its compatible Wi-Fi cameras, “two to three bars are recommended for a stable connection.”
Step 2: Move the Router to a Better Location
Router placement can make a surprisingly big difference.
Avoid placing the router:
- Inside a cabinet
- Behind large furniture
- Near large appliances
- In a closed room
- Close to metal objects
- In an area surrounded by thick walls
Instead, move it to a more open and central location. The farther away you are from your router, the weaker your Wi-Fi signal is, and if your signal has to pass through any brick, stucco, or metal, it will be even weaker.
Step 3: Reduce the Number of Obstacles
Consider the location of the router with respect to each of your outdoor security cameras. A camera beyond a few thick walls might have a significantly inferior connection compared to one with a less obstructed pathway.
Try to minimize:
- Thick concrete walls
- Brick walls
- Metal structures
- Large appliances
- Dense obstructions
- Unnecessary distance between the camera and network equipment
Reolink similarly recommends placing wireless cameras where there are fewer walls and obstacles between the camera and router.
Step 4: Check the Outdoor Security Camera Wi-Fi Range
There is no single outdoor Wi-Fi distance that works for every camera. Range depends on:
- The location of the security camera
- The wireless router
- The antennas
- Interference
- Obstacles
Reolink claims that some of its Wi-Fi cameras can transmit up to 150 meters in open air, with many (but not all) models emitting the following maximum range:
| Condition | 2.4 GHz | 5 GHz |
| Without obstacles | 150 m | 10 m |
| With obstacles | 50 m | 10 m |
These are manufacturer-specific figures under ideal conditions, rather than hard limits for security camera Wi-Fi.
Step 5: Use 2.4 GHz When Longer Range Is More Important
Depending on the camera and router, you may have access to both 2.4 GHz and 5 GHz Wi-Fi. The two bands have different characteristics.
2.4 GHz:
- Generally travels farther
- Can pass through obstacles more effectively
- Useful for cameras farther from the router
5 GHz:
- Can provide faster data transfer
- Can have less congestion in some environments
- Usually has shorter effective range through obstacles
The correct choice depends on the camera and your home’s layout. Some modern outdoor cameras support both bands, while others support only one.
Step 6: Add a Wi-Fi Extender When Necessary
If moving the router isn’t practical, the next solution is extending the network. If the extender is placed somewhere the original signal is already extremely weak, you won’t get much improvement.
As an example, Reolink suggests positioning an extender halfway between the router and the weak-signal area as part of their extension setup instructions.
Step 7: Consider a Mesh Wi-Fi System
If you have a large home or an even larger plot of land with outdoor cameras, switching to a mesh Wi-Fi system is a better option than a single router.
This can be particularly useful when cameras are installed:
- In the backyard
- Near a garage
- Along a side gate
- At the front driveway
- Around a large property
- Far from the main router
Some camera systems support mesh networks, although compatibility should be checked for your specific equipment.
Step 8: Avoid Wi-Fi Interference
Distance isn’t always the problem. Other wireless networks and electronic devices can interfere with a camera’s connection. Reolink specifically identifies nearby Wi-Fi networks, microwaves, computers, and other electronics as potential sources of interference.
To improve the connection, keep the router and cameras away from unnecessary sources of interference. Changing the wireless channel can also help in areas where many nearby Wi-Fi networks are competing for the same wireless space.
Step 9: Position the Cameras for Both Security and Connectivity
Getting the strongest possible signal isn’t useful if the camera doesn’t cover the area you actually need. Consider both the camera’s security view and its network connection before finalizing the mounting location.
For outdoor cameras, common locations include:
- Front door
- Driveway
- Garage
- Backyard
- Side entrance
- Gate
- Property boundary
Ring’s outdoor-camera instructions also currently recommend testing the Wi-Fi connection where you plan to mount your camera, and making sure the camera has an unobstructed line of sight.
How to Improve Wi-Fi Signal for Security Cameras
Move the Router
Moving the router to a more central and open location can improve coverage.
Move the Camera
If your security camera has to work to cover the area, a small shift can help.
Add an Extender
Well-positioned Wi-Fi extenders can increase coverage in a spotty spot.
Use Mesh Wi-Fi
A mesh system is good for larger homes.
Reduce Interference
Move equipment away from electronics and other things that cause interference.
Check the Camera’s Signal Indicator
If your camera has a bar meter, use it to compare mounting sites.
What Is the Best Wi-Fi Setup for Security Cameras?
The best Wi-Fi setup for security cameras depends on the size of your property and where your cameras are located.
For a small home, a good modern router may be enough. For a larger home, you may benefit from:
- A centrally positioned router
- 2.4 GHz coverage for longer-distance cameras
- 5 GHz where the camera is closer and compatible
- Wi-Fi extenders
- Mesh access points
- Wired Ethernet for cameras that support it
The goal isn’t necessarily to have the most expensive networking equipment. The goal is to provide each camera with a stable connection at its actual installation location. If this feels like more than you want to tackle alone, a professional wifi installation service can assess your property and set everything up correctly the first time.
When Wi-Fi Isn’t the Best Option
While Wi-Fi cameras are easier to set up, they’re not the only option. If the camera is very distant from the router or there’s a lot of interference in the location where you want to install the camera, a wired Ethernet camera may be more reliable. For larger properties, you may also want to consider a hybrid wired/wireless setup. The decision ultimately comes down to property layout, the installation situation, and the system you’re using.
Common Wi-Fi Mistakes With Outdoor Cameras
Relying Only on Distance
A camera isn’t guaranteed to work successfully just because it’s within the distance stated in the manufacturer’s advertisement. This distance is often measured in open areas with no interference.
Installing Before Testing the Signal
Always test the connection in the location where the camera is planned to be installed before mounting the device permanently.
Putting the Extender Too Far Away
An extender cannot repeat a signal that is already received very weakly.
Ignoring Walls and Construction Materials
Materials such as concrete, brick, or metal can significantly affect wireless operation.
Using the Wrong Wi-Fi Band
Not every camera supports both 2.4 GHz and 5 GHz. Check your camera’s specifications before changing network settings.
A Simple Wi-Fi Optimization Checklist
- Wi-Fi signal at every camera location
- Router placement
- Number of walls between router and cameras
- Camera’s supported Wi-Fi bands
- Possible interference
- Need for an extender
- Need for mesh Wi-Fi
- Camera viewing angle
- Internet upload speed
- Whether wired Ethernet is a better option
Final Thoughts
Optimizing my Wi-Fi for outdoor security cameras involved enhancing the network in the areas where the cameras needed it most. Rather than concentrating solely on the claimed range, I focused on signal strength, improved router positioning, minimized obstacles and interference, and installed extenders or a mesh network to boost connectivity for my outdoor security cameras.
Wi-Fi for outdoor security cameras is vital for video clarity, live view, and connection stability. If you’d rather have it done right the first time, a professional wifi installation service can determine the best camera and router placement for your property. Start your complete surveillance system today. Contact us today and Cam Security Surveillance will help you determine camera position and choose the best solution for your property plan.
Frequently Asked Questions
How far can an outdoor security camera be from a Wi-Fi router?
There is no single answer that applies to every situation. The workable distance depends on factors including the brand/model of the camera, the type of Wi-Fi router, the Wi-Fi frequency range being used, walls, interference, and environmental conditions. Some manufacturers’ stated ranges may not reflect real-world performance.
How can I improve Wi-Fi signals for security cameras?
Try moving the router to a more open location, reducing obstacles, changing Wi-Fi channels if interference is present, using an extender, or installing a mesh Wi-Fi system.
Is 2.4 GHz or 5 GHz better for outdoor security cameras?
It depends on the camera and installation distance. 2.4 GHz generally offers better range through obstacles, while 5 GHz can provide faster data transfer over shorter distances. Always check which bands your camera supports.
Does a Wi-Fi extender work for outdoor security cameras?
Yes — an extender can help, as long as it’s placed where it still receives a strong enough signal to repeat. 2.4 GHz generally provides better range through obstacles, although 5 GHz has faster speeds at closer range. Check which bands your cameras support.
What is the best Wi-Fi setup for security cameras on a large property?
5 GHz for shorter range and 2.4 GHz for longer range, depending on camera specifications. Alternatively, a mesh Wi-Fi network or additional access points can provide broader coverage.
Why does my outdoor security camera keep going offline?
A weak Wi-Fi signal is one possible cause. Other possibilities include interference, router problems, network congestion, outdated firmware, or an unstable internet connection. Check the camera’s signal strength at its installation location before changing your equipment.