A security camera that can’t be seen at night is basically useless. Blurry, dark, or washed-out footage means you miss exactly what matters most. The fix is usually simpler than people think, and it doesn’t always mean buying a new camera.
These easy tips to enhance your security camera night vision work on most CCTV systems, whether you have a budget setup or a mid-range one. Small changes to your lens, lighting, and settings can completely transform your footage quality after dark.
Why Night Vision Quality Matters More Than You Think
Most break-ins and incidents happen at night. If your camera can’t capture a clear image after dark, it’s giving you a false sense of security.
Poor night vision often shows up as:
- Grainy or pixelated footage
- Faces and license plates that are unreadable
- Overexposed glare from lights hitting the lens
- A completely black image in low-light zones
The good news is that most of these problems are fixable. You don’t always need to replace your camera. You need to improve how it looks.
Tip 1: Keep the Camera Lens Clean
This is the most overlooked fix. A dirty lens is the number one reason CCTV cameras go blurry at night.
Dust, spider webs, water spots, and grime build up on the lens cover over time. During the day, this might not matter much. At night, when the camera relies on limited light and infrared LEDs, even a thin layer of dirt scatters the light and ruins the image.
How to clean it properly:
- Power down the camera before cleaning
- Use a soft microfiber cloth, not paper towels
- Apply a small amount of lens cleaning solution
- Wipe in a circular motion from the center outward
- Check for any remaining streaks before powering back on
Do this every 4 to 6 weeks, or after any heavy rain or dust storm. It takes 5 minutes and it makes a real difference to your security footage quality.
One thing to watch: If your camera is inside a dome housing, check the dome cover too. Fogged or scratched dome covers reduce night vision just as much as a dirty lens.
Tip 2: Improve Exterior Lighting
Infrared night vision works great in total darkness. But visible-light color night vision, which many modern cameras use, needs at least some ambient light to produce a usable image.
Adding exterior lighting in your camera’s field of view helps in two ways. It gives color cameras enough light to capture detail. It also acts as a deterrent on its own.
Best lighting options to pair with security cameras:
- Motion-activated flood lights placed just outside the camera frame (not directly in front of the lens, which causes glare)
- Low-voltage pathway lighting that keeps ground-level areas visible
- Warm LED lights around entry points like doors and garages
Keep lights slightly to the side of the camera, not directly behind it or pointed at the lens. A light shining directly into a camera creates overexposure and washes out the image entirely.
If you want to enhance security camera image quality without touching the camera itself, improving your lighting setup is the fastest route.
Tip 3: Adjust Camera Position and Angle
Where your camera points matters just as much as the camera itself. A slight tilt in the wrong direction can expose the lens to glare, reflections, or a field of view that misses key areas entirely.
Common positioning mistakes:
- Pointing the camera toward a bright light source (street lamp, porch light)
- Aiming too high so faces are never in frame
- Mounting near reflective surfaces like windows or wet walls
- Placing cameras where trees or shrubs block the view at night
How to reposition for better night vision:
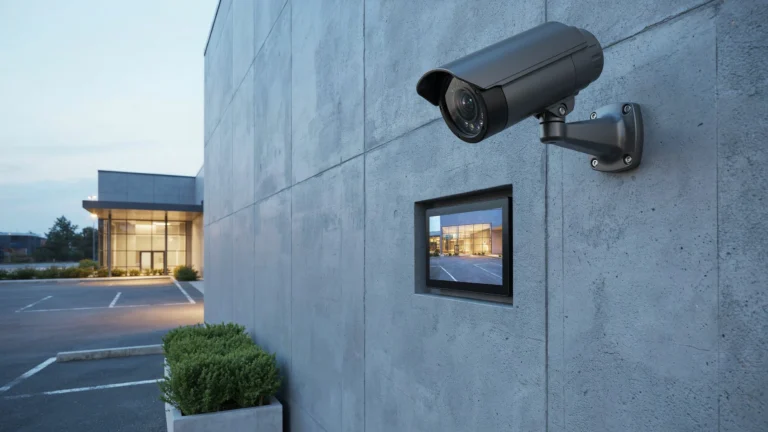
Aim the camera slightly downward at about a 15 to 45 degree angle. This keeps faces and license plates in the frame. Avoid direct light sources in the background. If you’re near a street lamp, angle the camera so the lamp is outside the field of view.
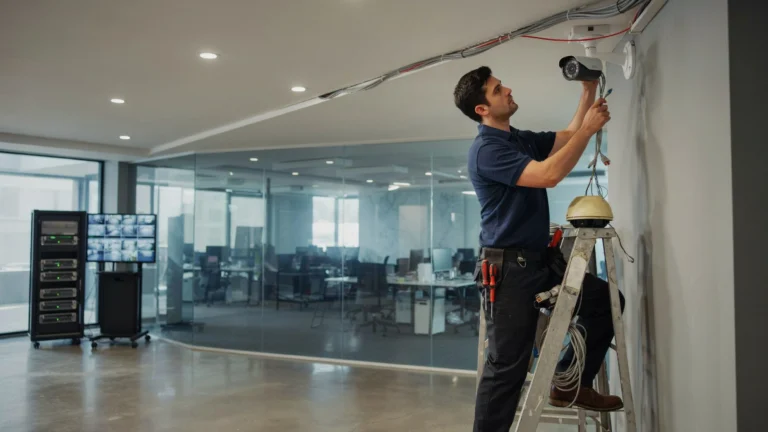
For homeowners in Indiana, Cam Security Surveillance provides professional home security systems in Indianapolis with proper camera placement built into the installation. A correctly positioned camera from day one saves a lot of troubleshooting later.
If you’re doing it yourself, test the camera view at night before finalizing the mount. Walk through the area while watching the live feed on your phone or monitor. Adjust until the image looks clean and balanced.
Tip 4: Update Camera Settings
Most people set up their camera once and never touch the settings again. That’s a mistake. Default settings are rarely optimized for night conditions.
Here are the key night vision camera settings to review:
IR Sensitivity Most cameras let you adjust how sensitive the infrared sensor is. If your image looks washed out and white at night, lower the IR sensitivity. If it’s too dark and grainy, raise it. Find the middle point where faces and objects are clearly defined.
Exposure and Shutter Speed In low light, a slower shutter speed lets in more light but blurs moving objects. A faster shutter speed freezes motion but darkens the image. For most driveways and entry points, a mid-range shutter speed (1/30 to 1/60 second) balances these well.
Wide Dynamic Range (WDR) If your camera has WDR, turn it on. This setting balances bright and dark areas in the same frame. It’s useful when you have a light source on one side of the image and shadow on the other.
Day/Night Mode Make sure this is set to automatic. Some cameras default to “day mode” and never switch. Check the app or DVR/NVR interface and confirm the camera is switching modes at dusk automatically.
Noise Reduction A high noise reduction setting can make the image look smoother but blurs fine details. Keep it at medium. Too much noise reduction is one reason security footage looks smeared or soft at night.
Taking 20 minutes to review these settings can enhance security footage quality dramatically, without spending a single dollar.
Tip 5: Add or Upgrade Infrared (IR) Illumination
If you’ve tried everything above and the image is still dark, the issue may be with your camera’s built-in IR LEDs. Most budget cameras have weak IR illuminators that only cover 15 to 30 feet.
Signs your IR illumination is insufficient:
- Image is dark beyond a certain point in the frame
- You can see clearly near the camera but not farther out
- Objects at the edge of the frame are barely visible
Solutions:
Add an external IR illuminator. These are separate devices that throw infrared light across a wider area. A 940nm IR illuminator is completely invisible to the human eye and won’t disturb neighbors. An 850nm illuminator is more powerful but emits a faint red glow. For most residential use, 940nm works well.
Upgrade the camera. If your camera is more than 4 to 5 years old, the IR LEDs may have degraded. Newer cameras have more efficient LEDs and better low-light sensors. Look for cameras with a Sony Starvis sensor or similar low-light image sensor when upgrading.
Check for IR reflection. If your camera is mounted under a soffit or near a wall, the IR light can bounce back into the lens and create a bright glare. Moving the camera a few inches or adding a shade can fix this without any additional hardware.
Bonus Tip: Check Firmware and Run Regular Maintenance
Camera manufacturers release firmware updates that fix bugs and often improve image processing performance. An outdated firmware version can cause poor night vision even on a good camera.
Check your camera’s app or management software for firmware updates every 3 to 6 months. Most updates take less than 10 minutes to apply.
Basic maintenance checklist:
- Clean the lens every 4 to 6 weeks
- Check mounting hardware for looseness after wind or storms
- Review night footage once a month to catch any quality drops early
- Confirm IR mode is activating correctly at dusk
- Test motion detection zones to ensure full coverage
Staying on top of maintenance keeps your system working the way it should. A camera that’s clean, correctly positioned, and up to date will outperform a more expensive one that’s been neglected.
Conclusion
You don’t need to replace your camera to see better at night. Start with the basics: clean the lens, improve your lighting, and check your settings. Then add IR illumination if needed and keep firmware updated.
These easy tips to enhance your security camera night vision are practical, low-cost, and proven. Most homeowners see a noticeable improvement after just the first two or three steps.
If you want better night vision and improved camera performance, contact Cam Security Surveillance today. Our team can assess your system and recommend the right solutions for clearer footage and stronger security.
FAQs
Why is my security camera blurry at night?
A dirty lens is usually the first cause. After that, check your IR sensitivity settings, confirm the camera is switching to night mode, and make sure there’s no direct light source in the camera’s field of view causing glare.
Can I enhance security footage that’s already been recorded?
You can use video enhancement software to improve brightness and contrast on recorded footage, but it can’t add detail that was never captured. The best solution is always to fix the camera settings before the incident happens.
Do I need special lighting for security cameras at night?
Not always. Cameras with strong IR illuminators work well in total darkness. But color night vision cameras benefit from low-level ambient lighting. Motion-activated flood lights placed outside the camera frame are the most practical option.
What are the best night vision camera settings for a home camera?
Set IR sensitivity to medium, enable Wide Dynamic Range (WDR), confirm day/night mode is on automatic, and keep noise reduction at a mid-level. Adjust shutter speed based on how much movement you expect in the frame.
How far can security camera night vision reach?
Most budget cameras cover 20 to 40 feet. Mid-range cameras reach 60 to 80 feet. Adding an external IR illuminator can extend this to 100 feet or more depending on the unit.
Why does my CCTV camera look washed out at night?
This is usually caused by IR over-exposure. The IR LEDs are too strong for the distance or the light is bouncing off a nearby wall or surface. Lower the IR sensitivity in your camera settings or add a physical shade to the camera housing.